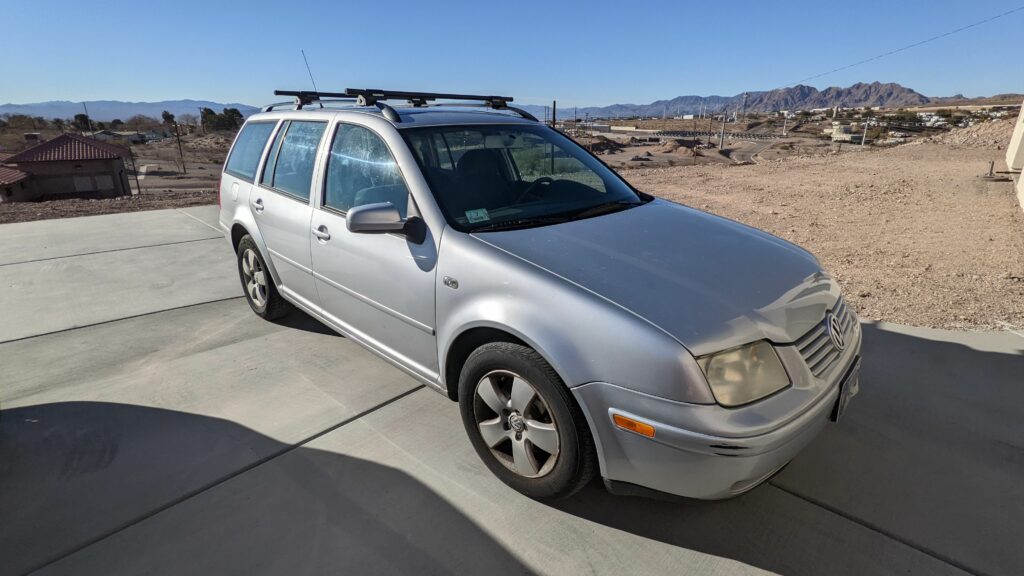
Intro
Back in April or May, Maria and I attended a talk by a biologist that described some research she was doing on a small mammal survey project. The survey was designed to mimic surveys done in the 1930´s (by Grinnell in California and by Borell and Ellis here in NV) and see how the abundance and diversity has changed through the years. Anyways, we saw some pictures of what I think were Thomas Canyon and we were both enamored by what we saw and the Rubies became something that we frequently talked about.
I’ve done quite a bit of backpacking through the years, but María had never had the chance…she’d been camping a handful of times and we go hiking all the time, but she’d never had the opportunity to combine the two. I had some vacation from work scheduled for the beginning of August to do some backpacking around Mt. Whitney in CA with a friend from college. Well, that trip fell through, I already had the time off from work, and we were both itching to get outside, so we decided we’d do some backpacking and chose the Rubies as our destination.
In our research we found a great website put together by Bill Homan (http://backpackingintherubymountains.info/). I think I’m like most people and prefer a loop hike instead of an ‘in and out’, so we chose his new Lakes Loop Hike as our route. He’s done it twice and I think he did it in one night and two days both times. Since this was our first time, I decided to budget three nights and four days, mainly because I knew it was going to be slow-going since it was María’s first time and plus, I wanted some time to go fishing.
So, here’s the trip report, organized by day. We had a great time and I highly recommend this route if you want to see some beautiful scenery and don’t mind a little off-trail route finding. The route-finding is made pretty easy by the use of the kml file that Bill provides. It is a great resource as is the route description and pictures that Bill put together. I don’t have a GPS, but did have my phone with me. I kept it in airplane mode, only used it when we were unsure about where to head, and still had enough battery to take some pictures on the third and fourth day when I was sure I was going to make it back to the car with some battery still left (arrived at the car w/ 13%). I used an app called Locus Pro which I’d recommend if you have an android phone and if you plan on using your phone instead of a GPS. It loaded the kml file without any issues, allowed for offline map access including USGS topos, and just worked when we needed it. We also had Bill’s route description, a printed topo map, and a compass just in case the phone/GPS didn’t work.
Day 1 – Road’s End Trailhead to Back of Thomas Canyon
We got a little bit of a later start than we wanted. We camped the previous night at Illipah Creek Reservoir (just W of Ely) since there was no way we were going to make it to the trailhead at a decent hour (I had to work in the morning and it’s a long haul from S’rn NV to NE NV). We made it to Road’s End around 1030, started hiking right around 1100, and made it to Island Lake without any problems. This part of the route is on good trail, nice switchbacks, easy climbing, and a good warmup for what’s next.

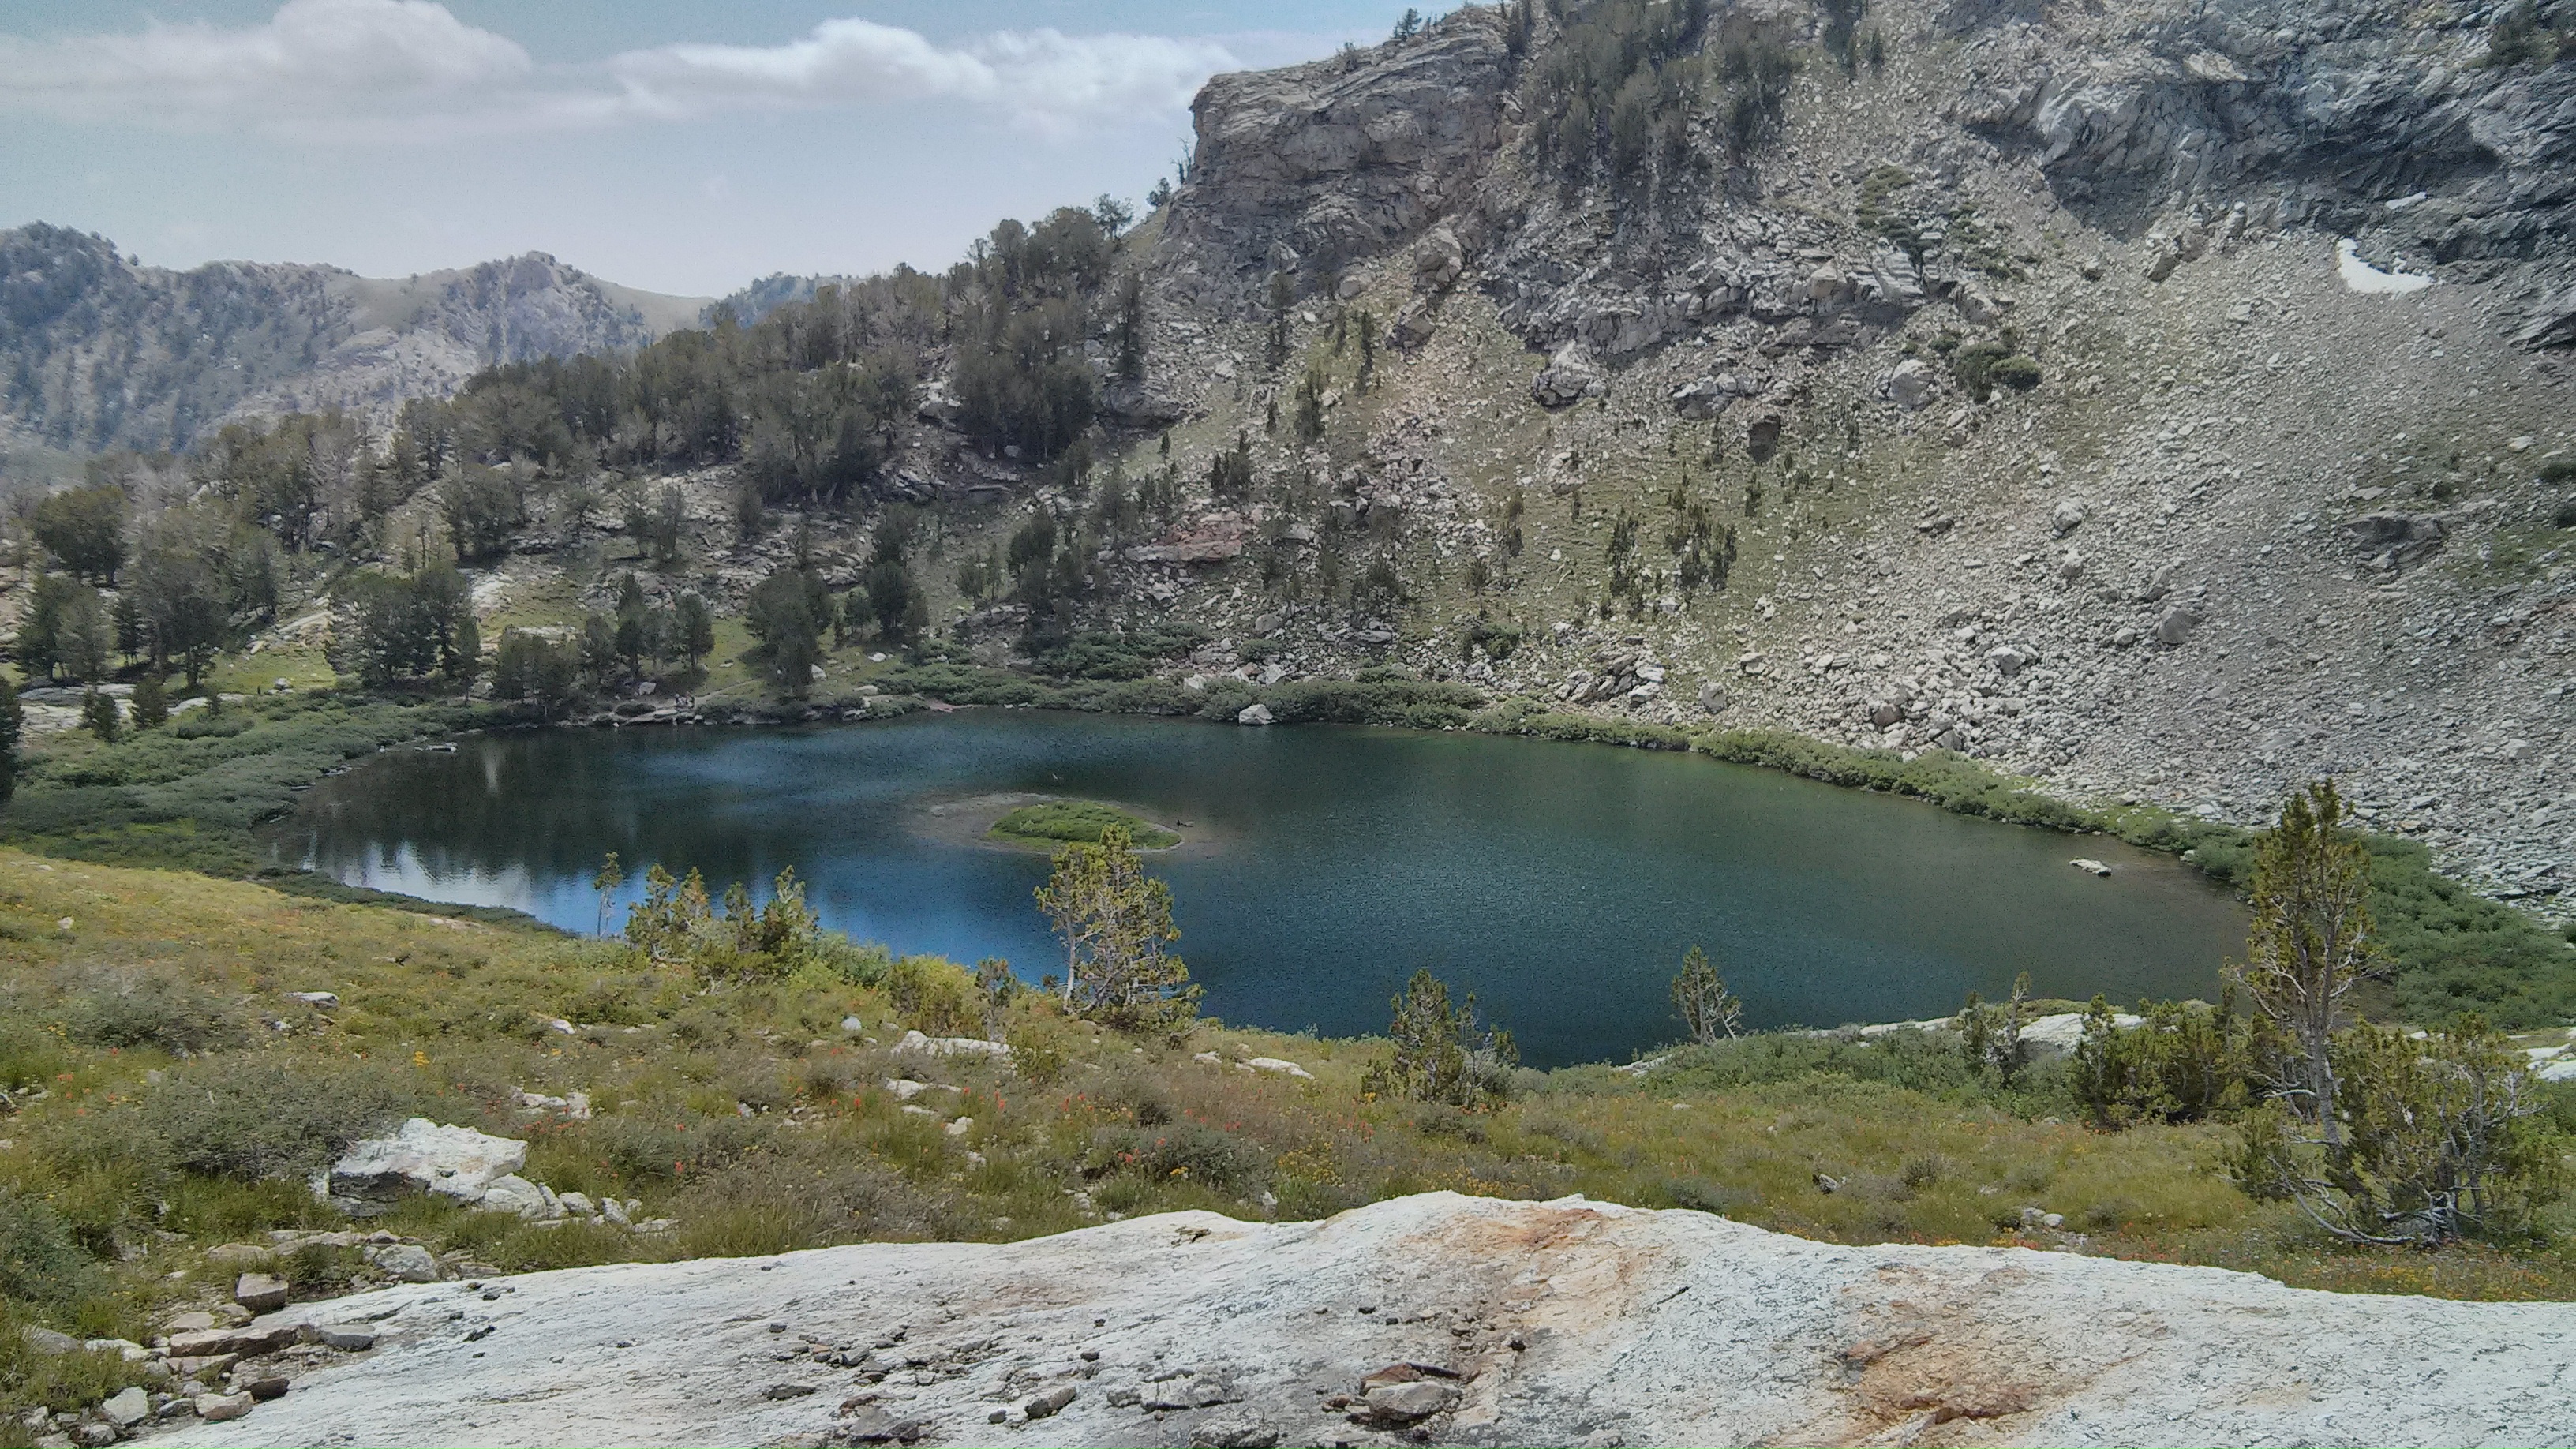
Island lake on the way to the pass to Thomas Canyon.
Once at Island Lake, it’s pretty obvious from Bill’s photo where the pass is. We started using the GPS at this point, but it wasn’t really that necessary, just head around the N side of the lake, start gaining altitude little by little. You’ll hit the boulder field around halfway to the top and since this was María’s first time walking on top of boulders plus with a heavy pack, this is where we started to slow down a little bit. We saw some pikas on the way up and almost walked by Larry’s trail camera without noticing it. Once across the boulder field, the rest of the way to the pass isn’t that bad.

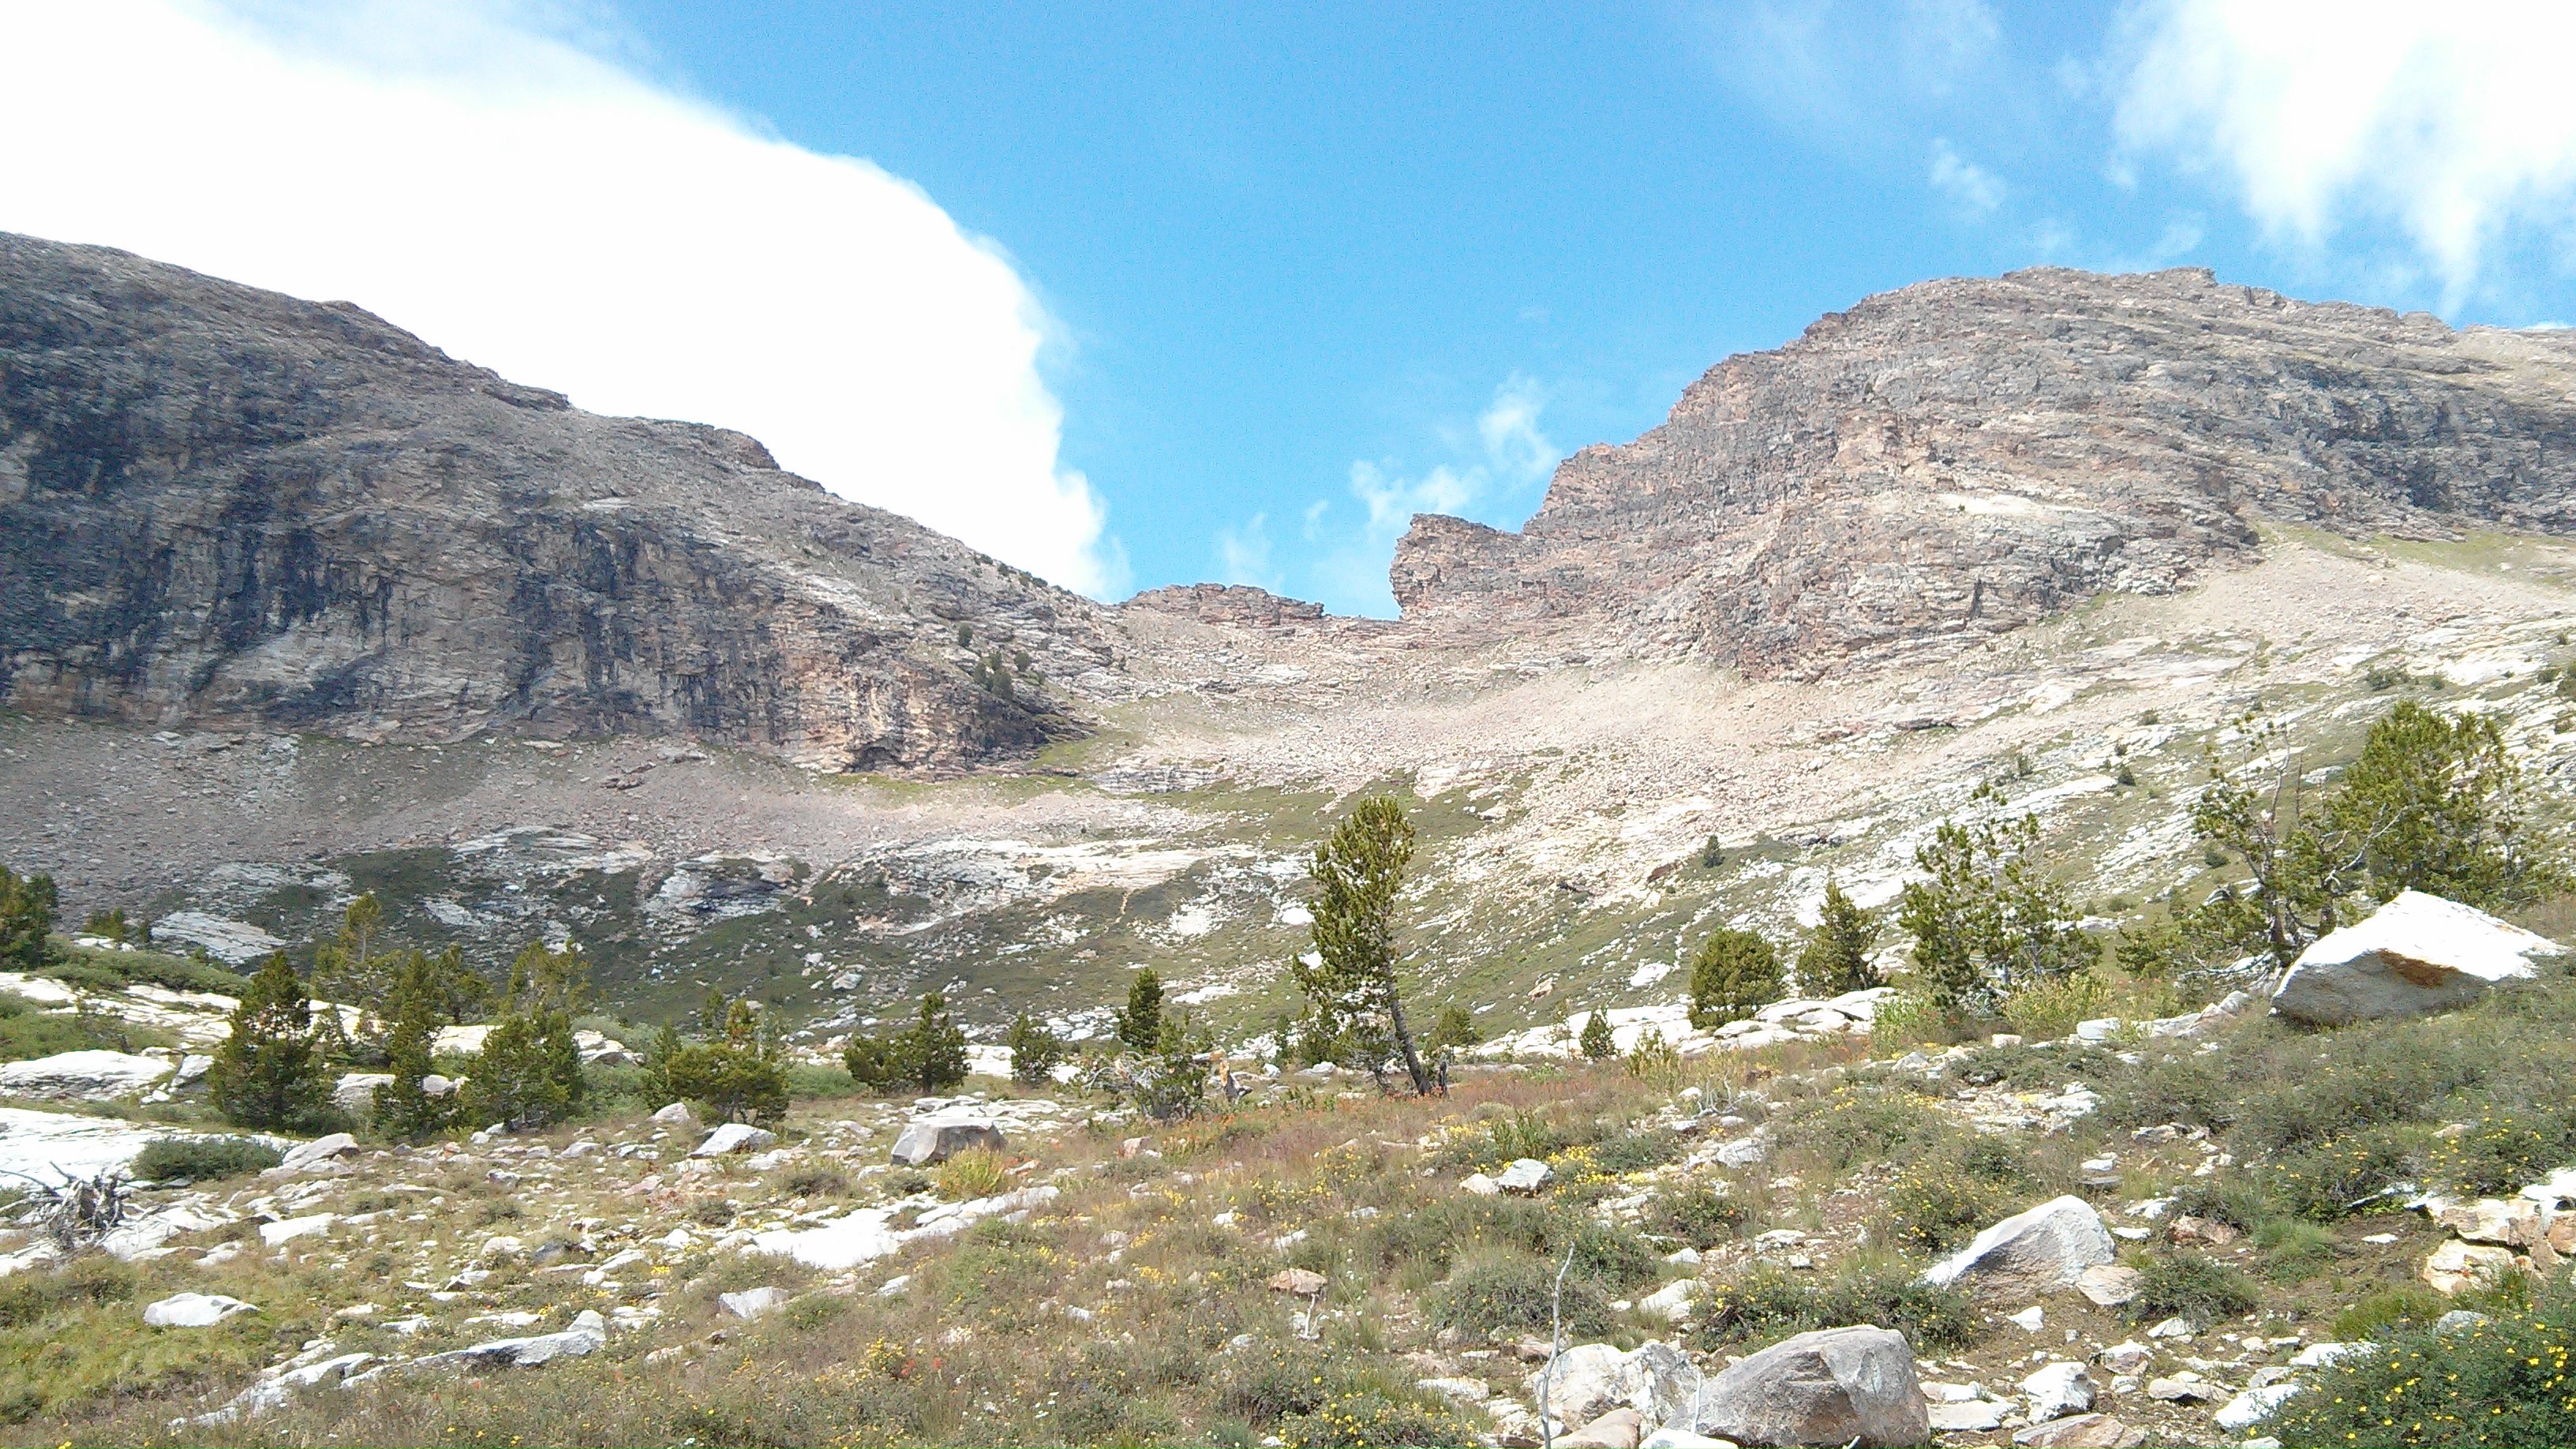
Looking towards the pass to Thomas Canyon.
And then once you do make it to the pass you are rewarded with a great view across the back of Thomas Canyon. We made it to the pass from the trailhead in about 2:10. I guess we were overwhelmed at the excitement of having made it to the pass because we immediately started to descend the chute in front of us instead of heading a little bit higher to access the correct chute (and easier chute from the looks of it that we got later from below). Bill’s GPS tracks show the access to this correct chute, but we weren’t looking at the GPS at this point and just decided to head down. About halfway down the chute we realized our mistake, but decided to just continue downward to try and meet up with the route. We were able to make it down the chute without any issues and later met up with the rest of Bill’s route down the side of the canyon.

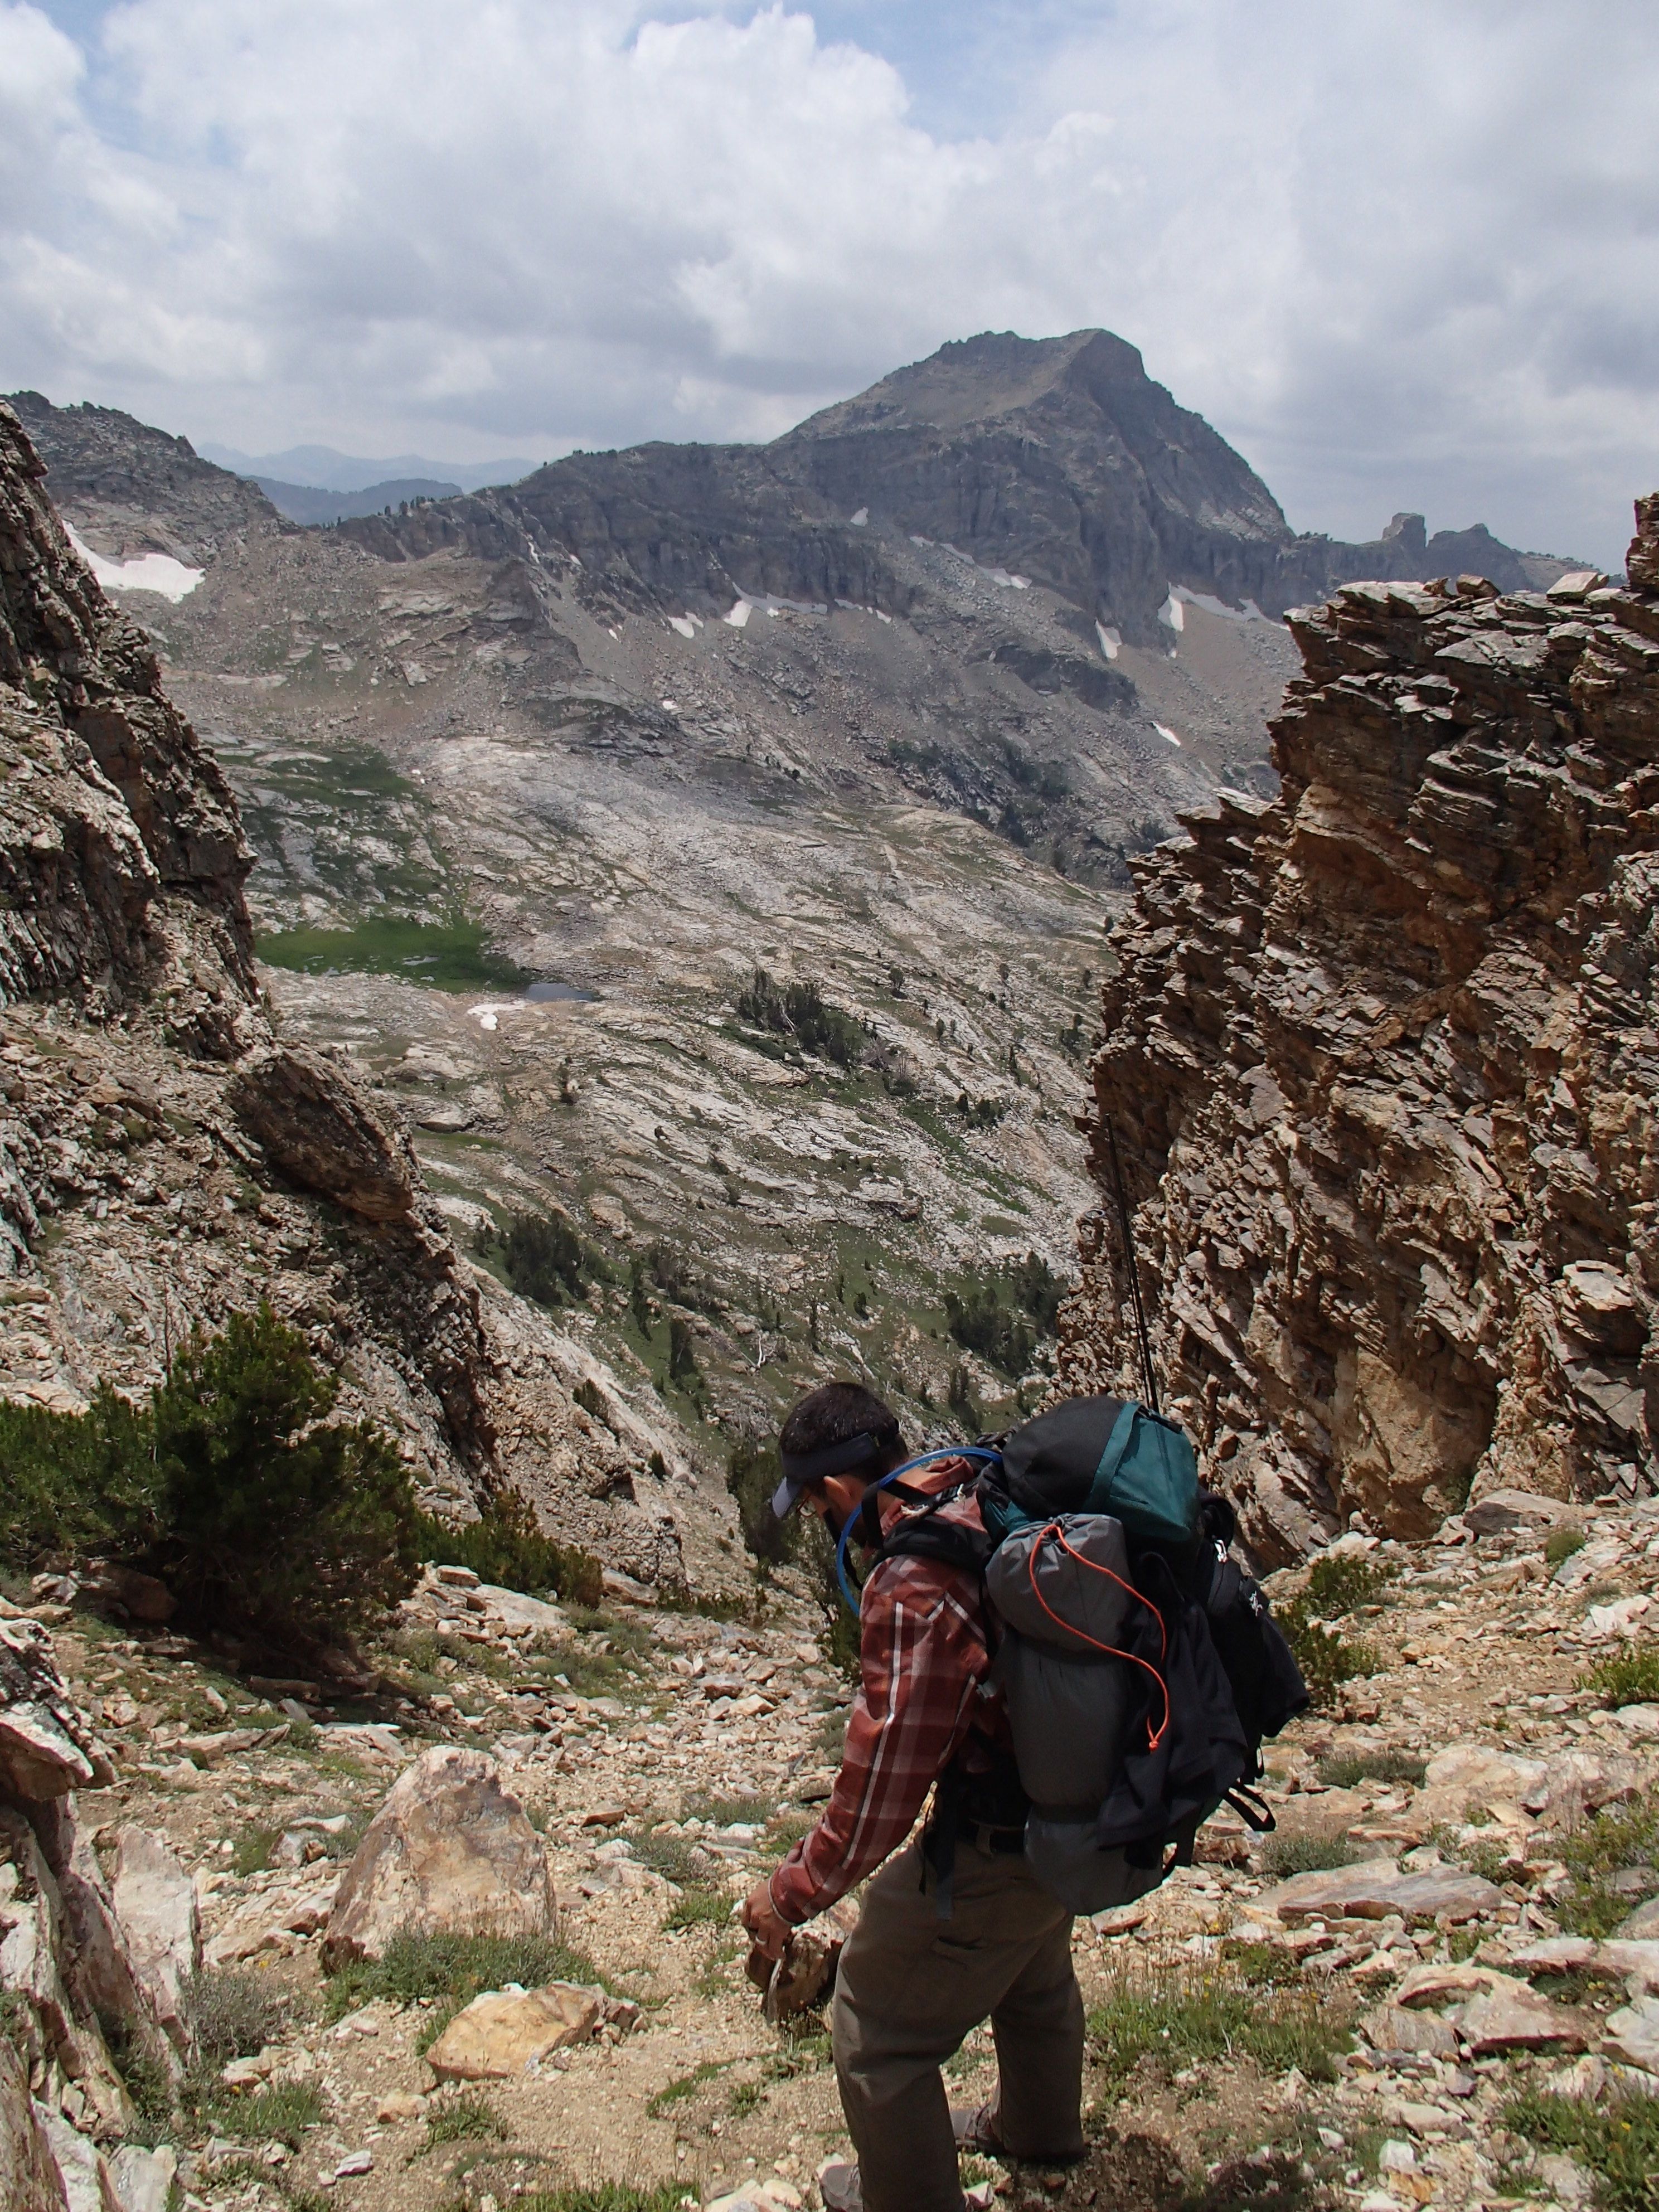
Jimmy heading down the chute to get into Thomas Canyon (Mount Fitzgerald in the background).
Once we rejoined the route, we were able to avoid the cliffs based on Bill’s description and the picture he has outlining the path down. Things in the chute and below were slow-going for us, it’s pretty steep and things slide pretty easily. It’s not the fine scree that I normally just mostly slide down, but larger rocks that aren’t anchored at all, so you need to be careful where you’re putting your feet. We made it from the start of the descent to solid somewhat-flat ground in about 2:00.

Picture of the two chutes for descending from the pass above Island Lake. The two chutes are visible in the center of the photo. Once out of the chute, we traversed to the left to avoid the cliffs and then cut back right to make it to the back of Thomas Canyon.
Heading across the back of Thomas Canyon was relatively easy. We more or less followed the GPS tracks here since it helps to stay at the right elevation instead of heading too high or too low. The back of the canyon is pretty steep so if you’re too high or too low you might make the route more difficult than it needs to be. There’s plenty of water across the back of the canyon, we filled up at one of the E forks of Thomas Creek. While walking across the back of the canyon, I flushed the first of many Himalayan snowcocks that we encountered. We scared the crap out of each other, I wasn’t more than 10 feet away when he came flying out of his little nook.
It took us about 1:00 to make it across the back of the canyon. It was about 1630, the weather was looking threatening, we were a little tired, so we decided to set up camp (total hiking time for the day was right around 5:30). There are quite a few good spots in the SW corner of Thomas Canyon. We picked a spot to the NE of the beaver dam pond. There’s good access to water here, good access to the next pass, and options between trees and open areas. While cooking dinner a pretty strong storm came rolling in, some wind gusts were strong enough to almost completely collapse the tent. The tent bounced back, but both poles got bent pretty bad. We made it inside the tent just before the hail started to fall. It hailed for the better part of an hour (bb size hail), the wind kept up, and after that it started to rain. It rained on and off the whole night and into the next morning.

Our first campsite at the back of Thomas Canyon near the Beaver Dam. A hailstorm hit right after cooking dinner. Wind gusts were strong enough to bend tent poles.
Day 2 – Thomas Canyon to Echo Lake
Due to the rain and the threat of thunderstorms we didn’t get started on the trail until right around 1100. We made several attempts to break camp, but nasty looking clouds kept on rolling in from the W which we couldn’t see until it was right on top of us. When getting ready to leave, I spotted a goat or a sheep on the ridge between Thomas and Right Fork Canyons, but by the time I got the binoculars it was gone and I was unable to identify it.
We debated whether or not to follow Bill’s route up to the next pass (between Thomas and Right Fork Canyon) and in the end we decided on a very similar but alternate route. It was hard to tell, but it looked like there was still some snow on Bill’s route, so we decided on trying to avoid the snow. Our camp was a little further to the N than where Bill’s route crosses the creek coming from the beaver pond, so we decided to just cross directly W of our camp and start climbing the side of the canyon from there. We basically climbed straight up the side of the canyon following a small, rocky drainage. Once we hit some pine trees, we started heading S and towards the pass, slowly climbing and staying above each set of pine trees. It took us about 1:10 to make it to the pass where we took a quick snack break before we started on our way to the next pass.

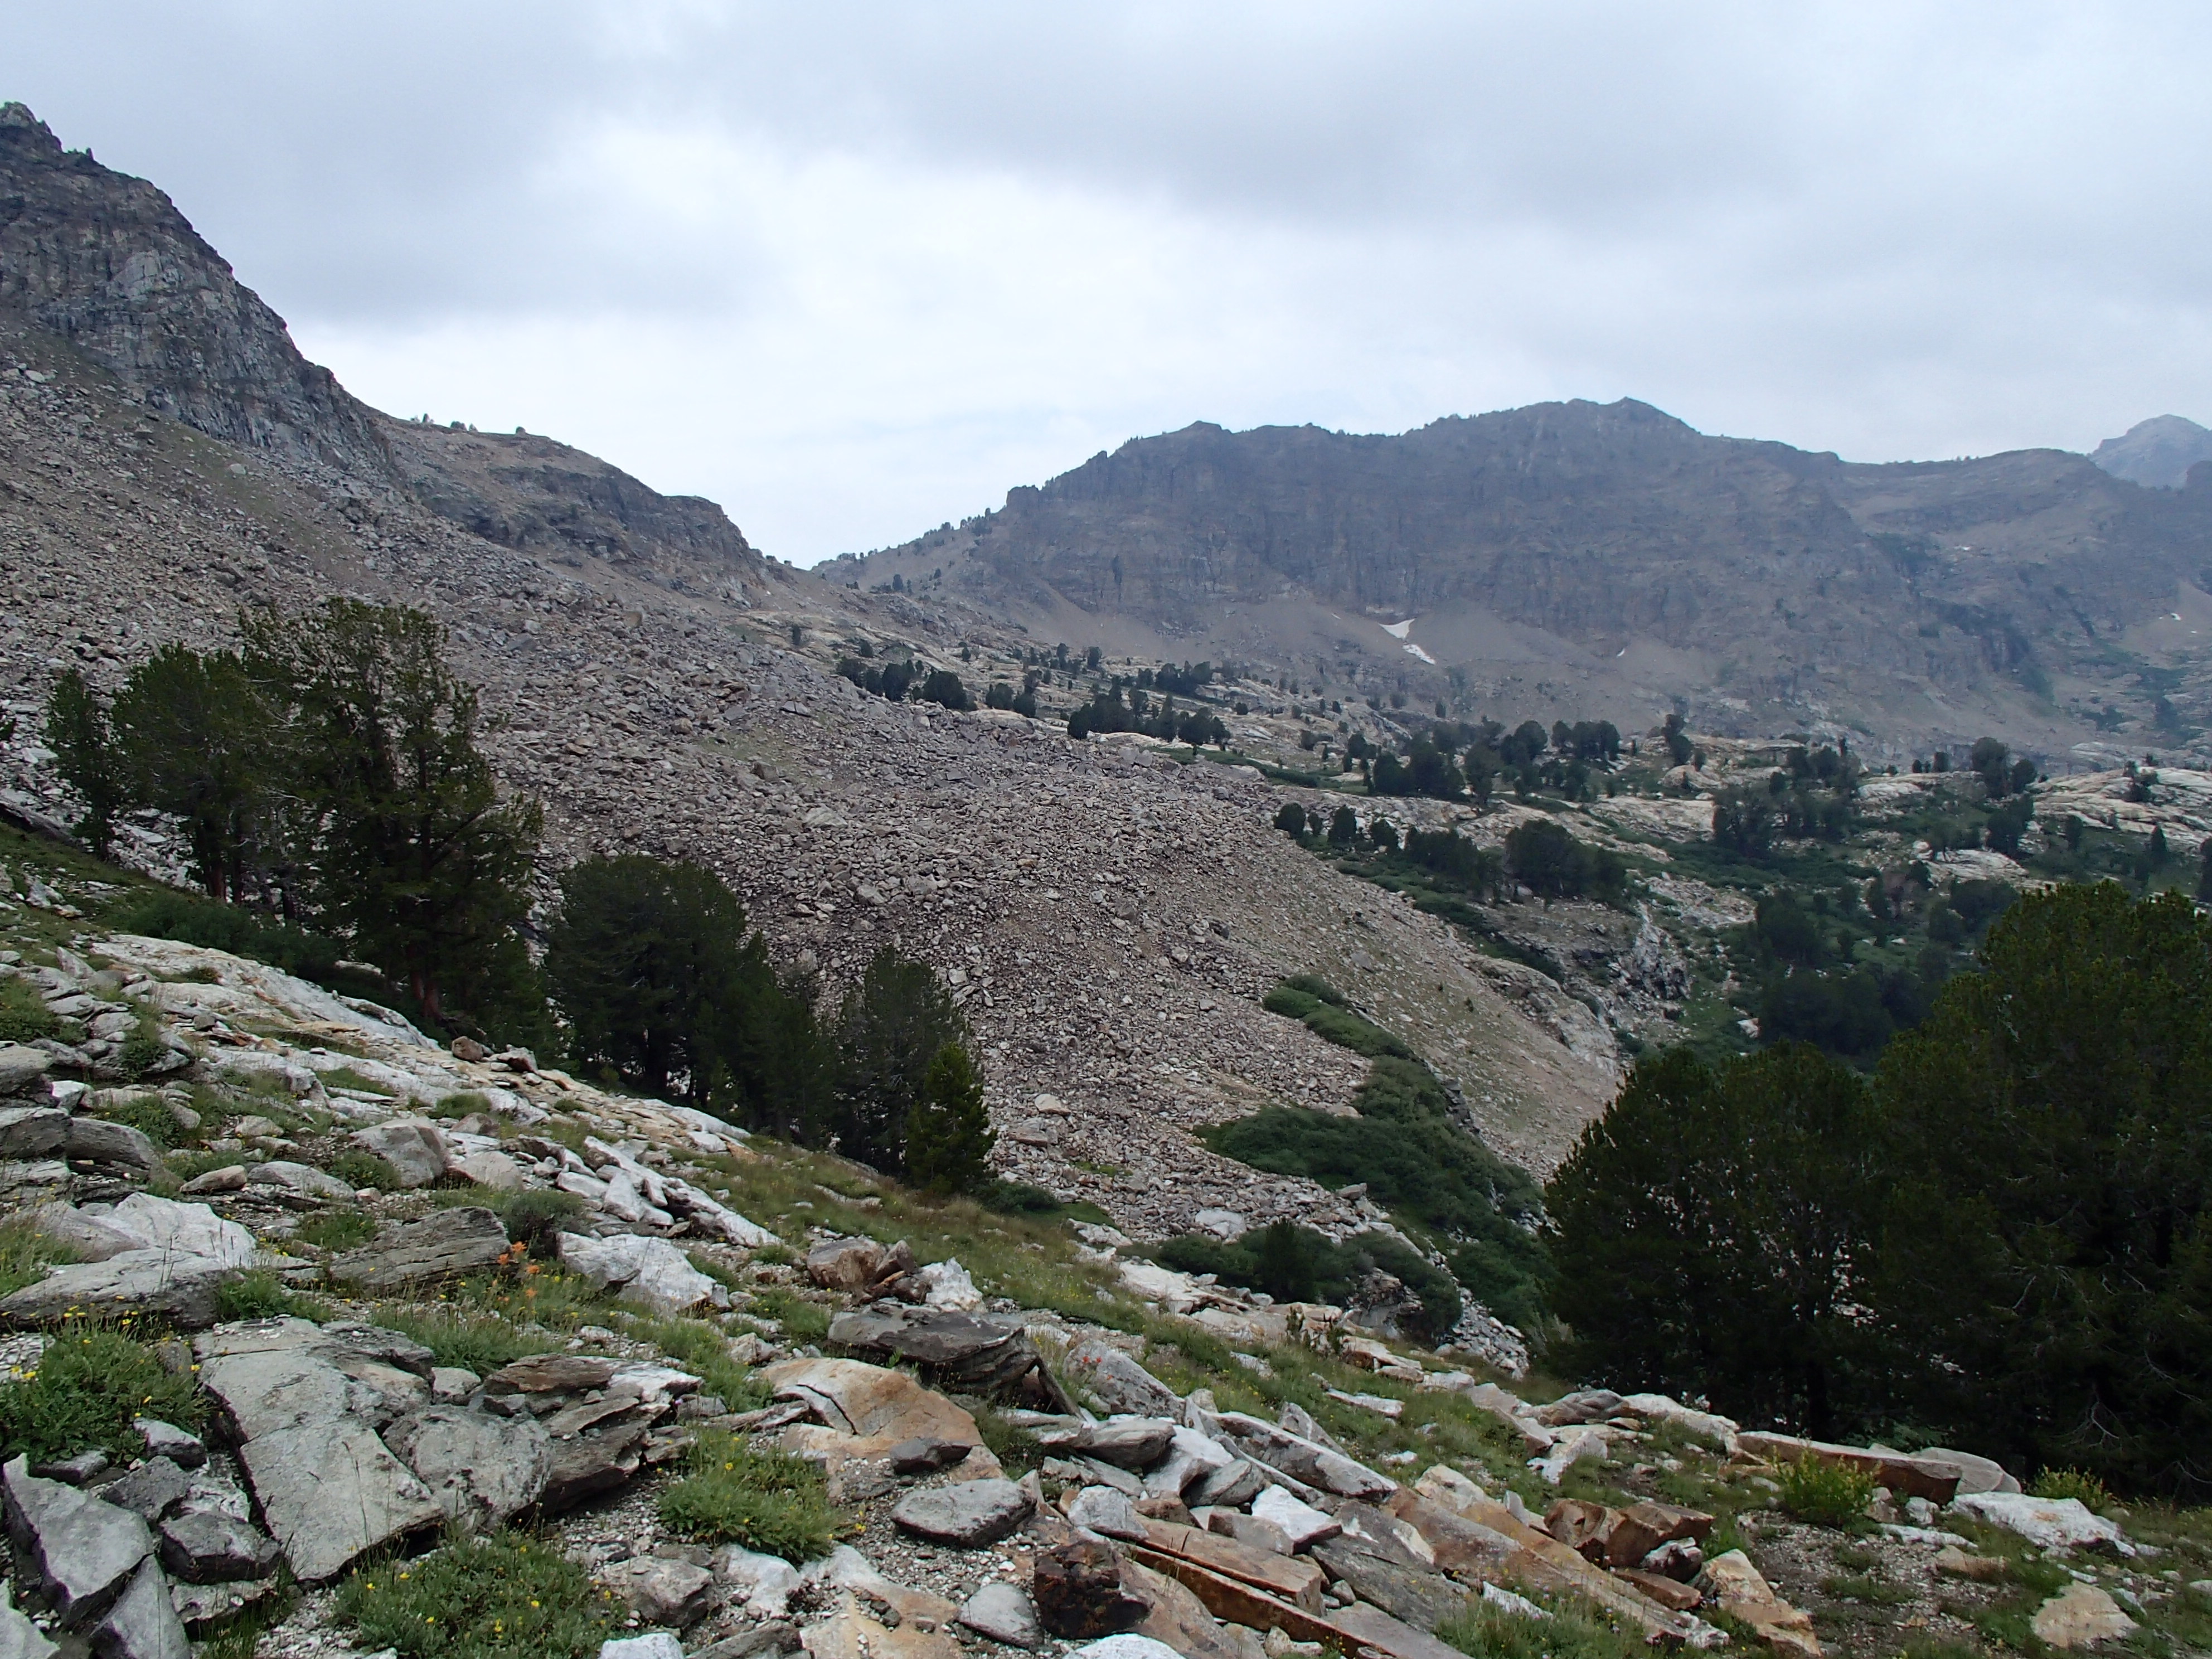
Almost out of Thomas Canyon (Mount Fitzgerald in the background).
Again, from the photos and Bill’s description, it’s pretty easy to tell where the next pass is to get out of Right Fork Canyon. Again, we used the general description instead of the GPS to make it to the next pass. María was pretty sick of walking across boulders, I was as well, so we decided to drop down from the pass and cut across the back of the canyon a little lower in elevation to try and avoid as much boulder field as we could. Dropping down below the boulder line isn’t too tough, there are a couple of small cliffs to avoid, but basically it was just finding a decent route down to the pine trees.

Crossing the back of Right Fork Canyon on our way to Echo Lake. We dropped down to avoid most of the boulder fields.
Once down off the rock, we started to make our way across Right Fork Canyon. We spotted a lone mule deer in one of the small ponds/marshes towards the back of the canyon. Since we didn’t follow the GPS route across the back of the canyon, we probably climbed too soon and wound up having to drop again to make it up to the pass. The SW corner of Right Fork Canyon is made up of these wide rock terraces that are pretty easy to climb up or across. We got all excited again and just started climbing when we should have continued W a little further before climbing. In the end, it was a minor detour and we made it to the pass out of Right Fork Canyon in 2:00.

Looking towards Box Canyon. Taken from the pass leaving Right Fork Canyon. We head towards Echo Lake from this pass, more or less maintaining the same elevation we head just below the smaller cliff below the large cliff on the right side of the photo.
Once at the pass you can see the no-name lake and down into Box Canyon a little bit. Here we made another minor detour, we started down towards the no-name lake when the route almost maintains the same elevation as the pass itself. Bill’s pictures and description tell you where to go, but we just felt like we knew where we were going until we checked the GPS. We climbed up from the no-name lake and rejoined the route. This section is just as Bill describes it…along a steep, rocky slope covered with sagebrush. It’s tough on the ankles, but better than a boulder field. Along this slope, we spotted another snowcock that was still foraging so we didn’t scare each other and we got a better look at it. It still took off too quick for us to grab a picture.
We made the same approach as Bill to the saddle above Echo Lake, drop below the cliffs and then start climbing. Shortly before making it to the saddle we spotted a fox walking across the saddle. It dropped out of view for a bit, then we spotted it heading further W across the back of the drainage. After that we made it to the saddle which took us about 1:45 from the last pass where we left Right Fork Canyon. In total, it took us just around 5:00 from the back of Thomas Canyon to the saddle above Echo Lake.

Above Echo Lake. We were going to camp at the small terrace in the lower right of the picture, but decided to head back to the other side of the saddle. The terrace was still about 15 minutes above the lake and we wanted to get an early start the next day.
We started the descent to Echo Lake to try and find a decent campsite. There was one possibility on the S side of the lake, but it wasn’t great. So, I dropped my pack and decided to see if there were any decent spots on the E side where the terrain is more level and where the outlet to the lake is. I made it about halfway down to the lake, it was looking like rain, and since I wasn’t sure if my search for a decent campsite was going to be successful, I decided to head back and reevaluate. In the end, we decided to head back to the saddle and camp on the other side. There are some nice, flat places with good access to water just on the other side of the saddle. This also set us up for a good start for the next day’s route.
The evening was really nice, great campsite, beautiful view of Box Canyon, and an almost full moon. The skies were clear for the first time during the whole trip and we took advantage of the afternoon sun to dry some things out.

Couldn’t ask for a better moonlit view. From Campsite below the saddle to Echo Lake.
Day 3 – Echo Lake to Favre Lake
We were awakened the next morning by a chorus of snowcocks. We got a relatively early start and started heading down the drainage right around 0800. We had plenty of battery on the phone so we more or less used the GPS to follow the same route in the kml file. About halfway down the drainage, we flushed out 4 snowcocks from where they were hiding in the grass. Luckily they spotted me a little sooner and didn’t scare me near as much as that first one.

The pass between Box and Kleckner Canyon is visible right in the middle of the photo.
Once we got past Bill’s photo point of the aspens with the view of the pass to Kleckner Canyon, we kind of left the GPS and just found our own way to the bottom of Box Canyon. There’s some big rocks/cliffs that you need to avoid as well as some creeks that can be tricky. The creeks that had water were sometimes overgrown with vegetation making them slip hazards while there were other dry ones that had pour-overs that were too tall for us to climb down. In the end, it took us a little over 2:00 to make it to the bottom of Box Canyon.
We crossed Stoddard Creek and once on the other side, we found a pretty good game trail that we were able to follow for most of the way up the side of the canyon. We also found the trail right where Bill’s GPS point said it was. We followed this trail which was good at times, crappy at others, and we lost it a few times before finding it again. From the crossing at Stoddard Creek to the pass into Kleckner Canyon took us another 1:00.

Finally found trail heading out of Box Canyon on our way to Kleckner Canyon and Favre Lake.
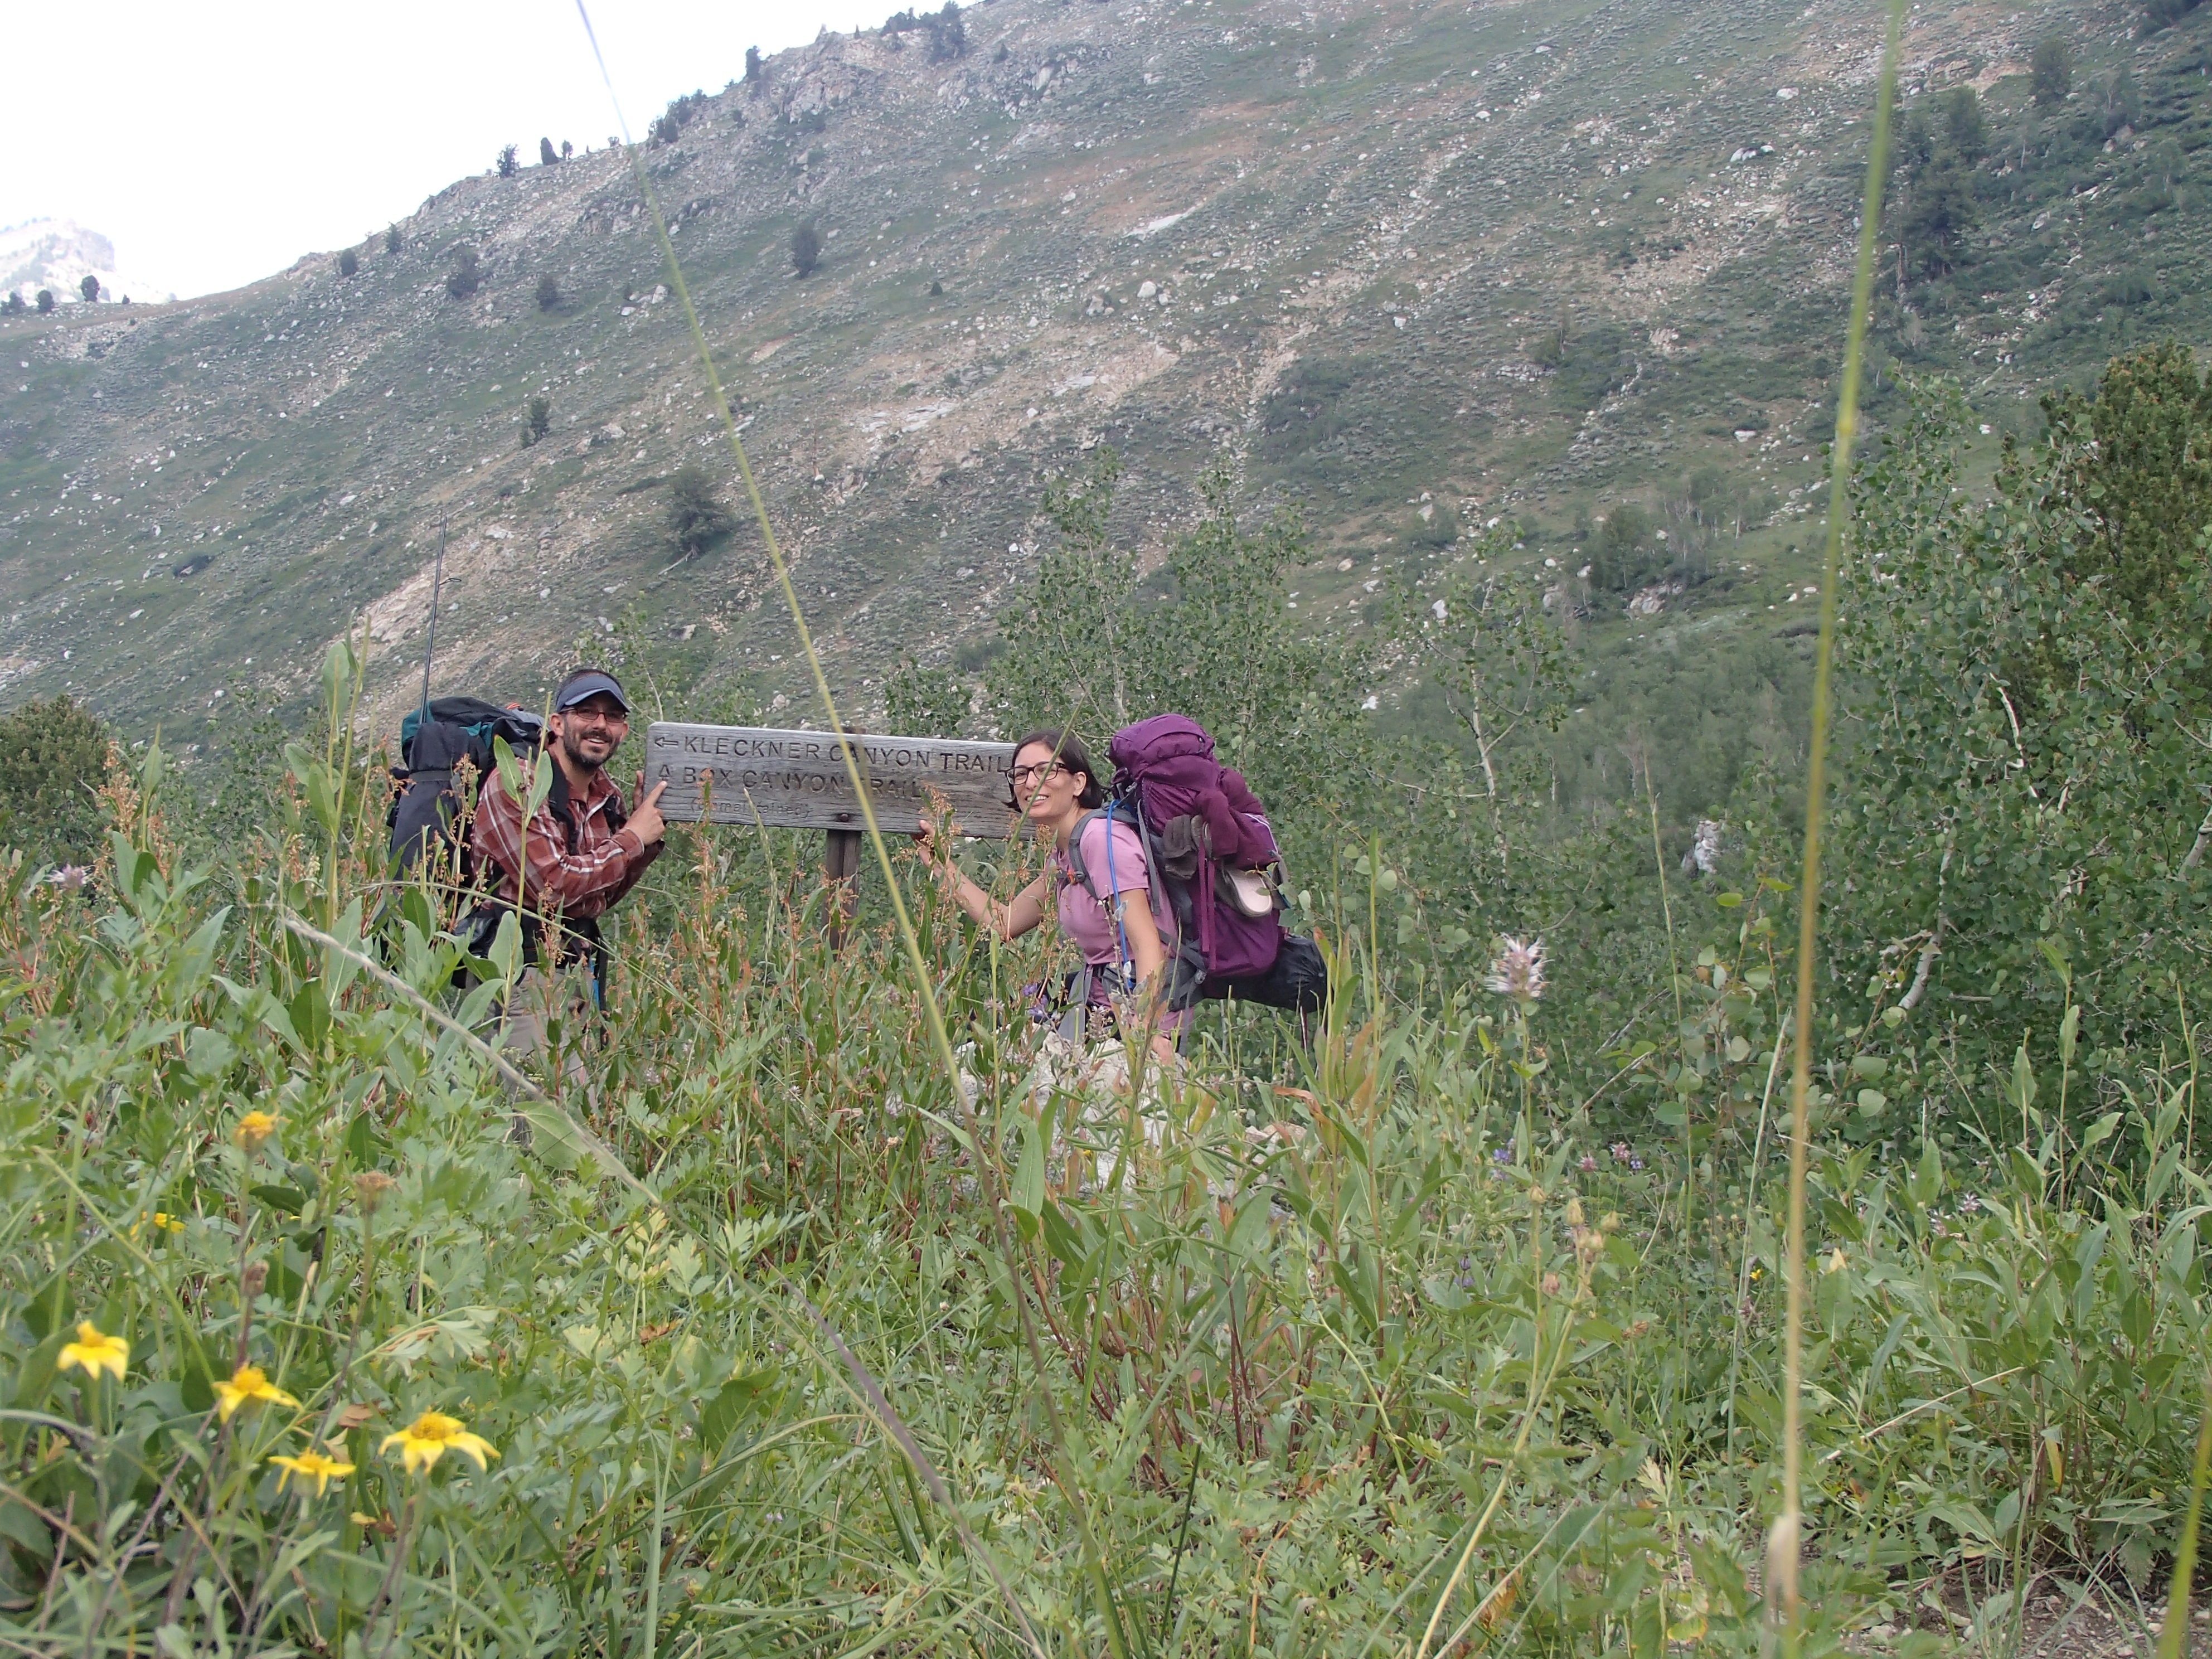
We took a quick snack break at the pass and started on our way to the bottom of Kleckner Canyon. The trail down the canyon was pretty good, but it was easy to lose at times as well. We crossed Kleckner Creek, refilled water, and just on the other side we found the trail sign. The Kleckner Canyon trail was in okay condition, there were a couple of downed trees and it followed some drainages at times, but all in all, it was nice to be back on trail even if it wasn’t a very well-maintained or well-traveled trail.

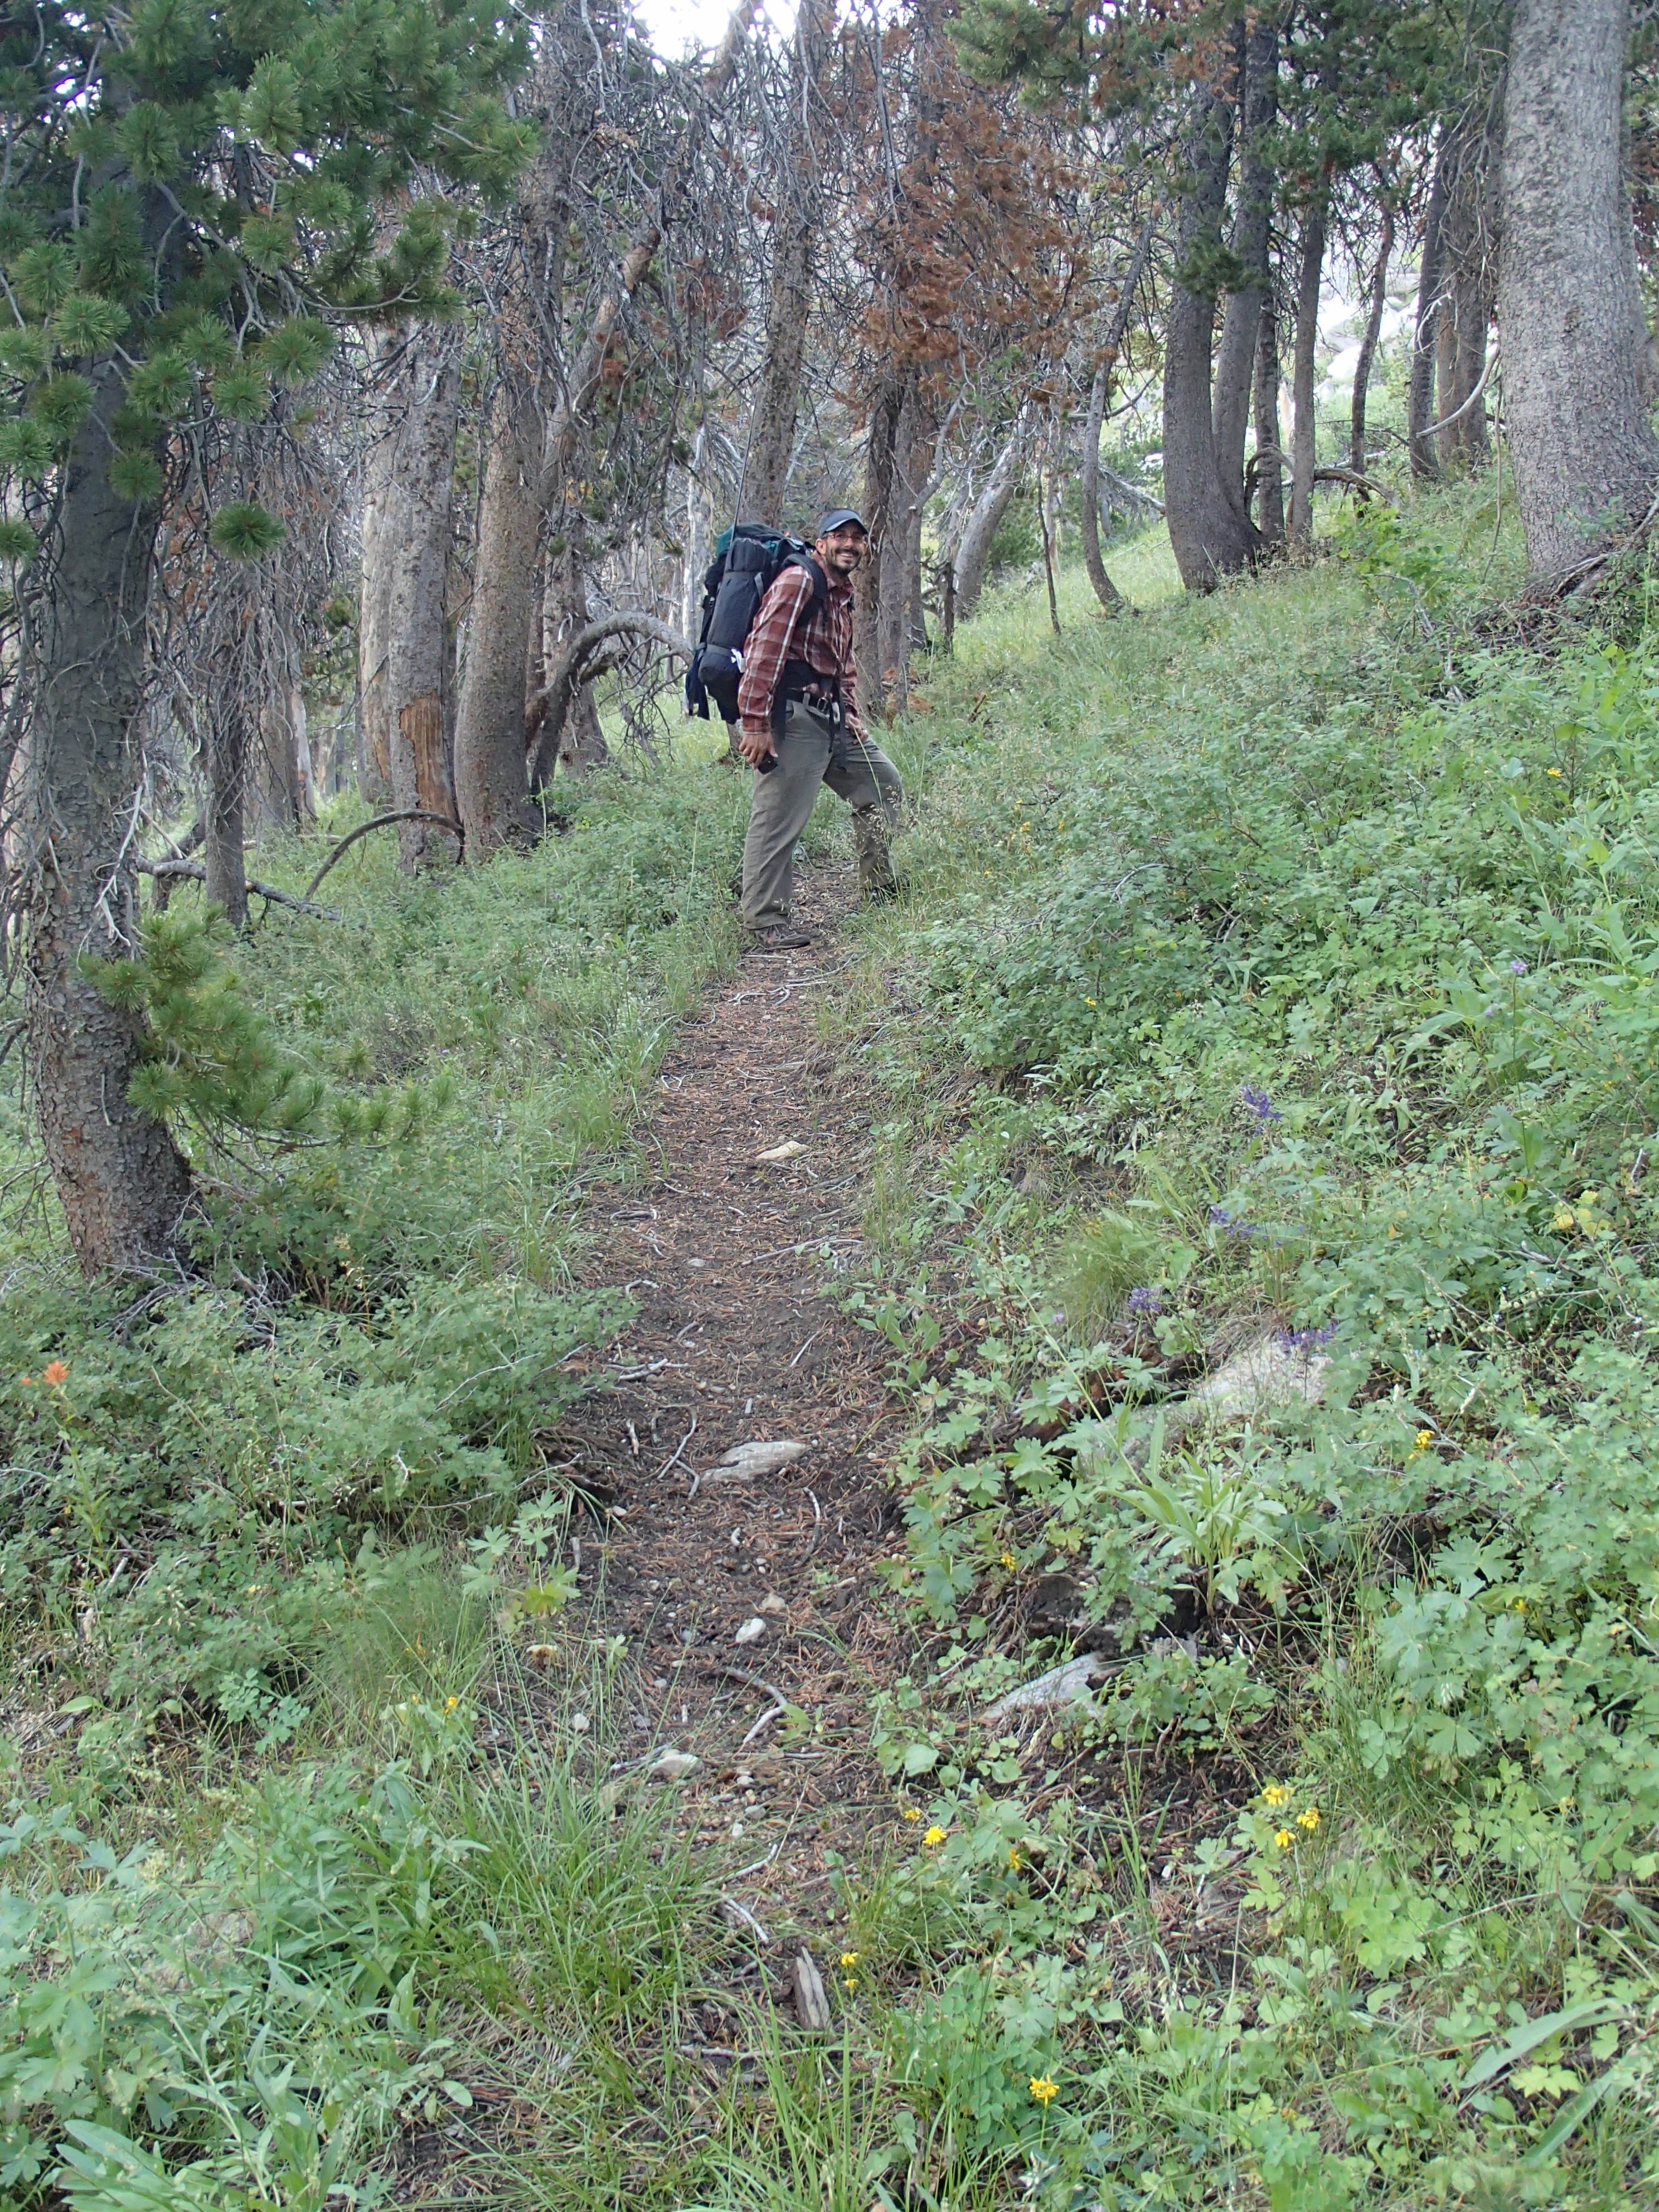
Do we look happy to have found a real trail?? First sign of real trail since we left Island Lake.
Once we got close to Favre Lake, there were a ton of trails going in all directions. We took a short tour heading S on the Ruby Crest Trail before realizing that we were heading away from Favre Lake. Once heading back in the right direction we easily found one of the nice campsites on the S side of the lake. In summary it took us 5:30 to get from the saddle above Echo Lake to Favre Lake. We saw another mule deer just above our campsite here.
I started fishing around 1400 on the S side of Favre lake and had three trout on my first three casts. They were all small (6-7 inches), so I tried a larger spoon, but had similar success. In the end, I fished both sides of the lake for about two hours total and caught at least 20 fish. I kept three of the larger ones which were probably around 11 inches.

Jimmy fishing at Favre Lake.
Day 4 – Favre Lake to Road’s End Trailhead
We got an early start the next day and left Favre Lake around 0700. We took the trail around the back of Favre Lake and agree with Bill, that the views on the way to Liberty Lake are great. We made it to Liberty Pass in 1:40 maintaining a slow leisurely pace with lots of photo taking. Once over the pass, we started running into a lot of people which was kind of a shock since we hadn’t seen anyone between Island Lake and Favre Lake and even at Favre Lake we only saw a group of three bowhunters that were heading down Kleckner Canyon.

Taken just below Liberty Lake looking towards Favre and Castle Lakes.
We made it to the trailhead at 1000 making the hike from Favre to the parking lot right at 3:00. At the parking lot we were in even more shock due to the bicycle race finishing up and a whole tour bus full of ‘adventure travelers’.
In summary, this was a great loop hike that can be done a lot of different ways which I’m sure we’ll be doing again in the future.
For more pictures, see the gallery posted here.